Oat Porridge Sourdough

Recipe
Adapted from recipes by The Perfect Loaf and Full Proof Baking, with my adjustments to hydration and technique.
Ingredients
Levain
Ripe Starter - 9g, 25%
Water - 36g, 100%
KAF White Bread Flour (12.7%) - 18g, 50%
KAF Whole Wheat Flour (13.8%) - 18g, 50%
Oat Porridge
Old Fashioned Whole Rolled Oats - 65g, 13%
Salted Butter - 20g, 4%
Honey - 1 tbsp
Water - 120g, 24%
Final Dough
Levain - 75g, 15%
Water (80°F / 27°C) - 325g, 65%
KAF White Bread Flour (12.7%) - 175g, 35%
KAF High-Gluten Flour (14.2%) - 175g, 35%
KAF Whole Wheat Flour (13.8%) - 150g, 30%
Salt - 13g, 2.5%
Oat porridge - all of above
Technique
Suggested timings are based on a winter bake. Do adjust it for your own needs — the cold ferment in the fridge is flexible.
Levain — Day 1, 8:30 PM (winter)
Mix ingredients for levain either:
(1) 6 hours before mixing final dough, or
(2) overnight on the countertop if temperatures are cool
The levain is ready when it is still fairly young, my visual cue being a gentle domed on the surface, but passes the float test.
Prepare Oat Porridge — Day 2, 8:00 AM
Melt the butter in a small lidded pot over low heat. Toast the rolled oats until golden and fragrant. Mix in water and honey, stirring to combine. Then cook covered for about 6 to 8 minutes, stirring occasionally, until almost all the liquid has been absorbed.
Mix Final Dough and Autolyse — Day 2, 9.30 AM
Mix ingredients for the final dough, then cover and rest for an hour so that the flours can fully absorb the water. Target dough temperature is 79°F / 26°C.
Laminate in Salt and Oat Porridge — Day 2, 10.30 AM
On a work surface lightly misted with water, stretch the dough out into a large rectangle and evenly distribute salt and oat porridge across it. Fold the left and right thirds of the dough over the middle, then roll it up from top to bottom. Cover and rest for 30 minutes.
Bulk Fermentation and Coil Folds — Day 2, 11.00 AM
Perform three sets of coil folds during the first 1.5 hours of bulk fermentation. Let the dough rest for an additional 3.5 hours, totaling 5 hours of bulk fermentation.
Shape and Rest — Day 2, 6:00 PM
Shape the dough into a boule or batard. Roll the top surface over a towel sprinkled with more oats, adding more to exposed areas. Transfer to proofing basket.
Let the dough rest at room temperature in the proofing basket for another 1 hour until puffy.
Cold Ferment — Day 2, 7:00 PM
Transfer the proofing basket to the fridge to ferment overnight, from 8 to 24 hours.
Preheat and Bake — Day 3, 8:00 AM
Preheat the oven and bread pan / dutch oven to 475°F / 246°C for an hour. Bread pan or dutch oven should be preheated according to product directions.
Once preheated, score dough and transfer into the hot bread pan / dutch oven. Spray with water to create steam, then cover and bake for 20 minutes.
After 20 minutes, lower temperature to 450°F / 232°C and continue baking until dark golden brown, about 20 to 30 minutes, rotating pan halfway if oven heats unevenly.
Let the bread cool completely before cutting into it. The interior will continue cooking even when out of the oven.
Process
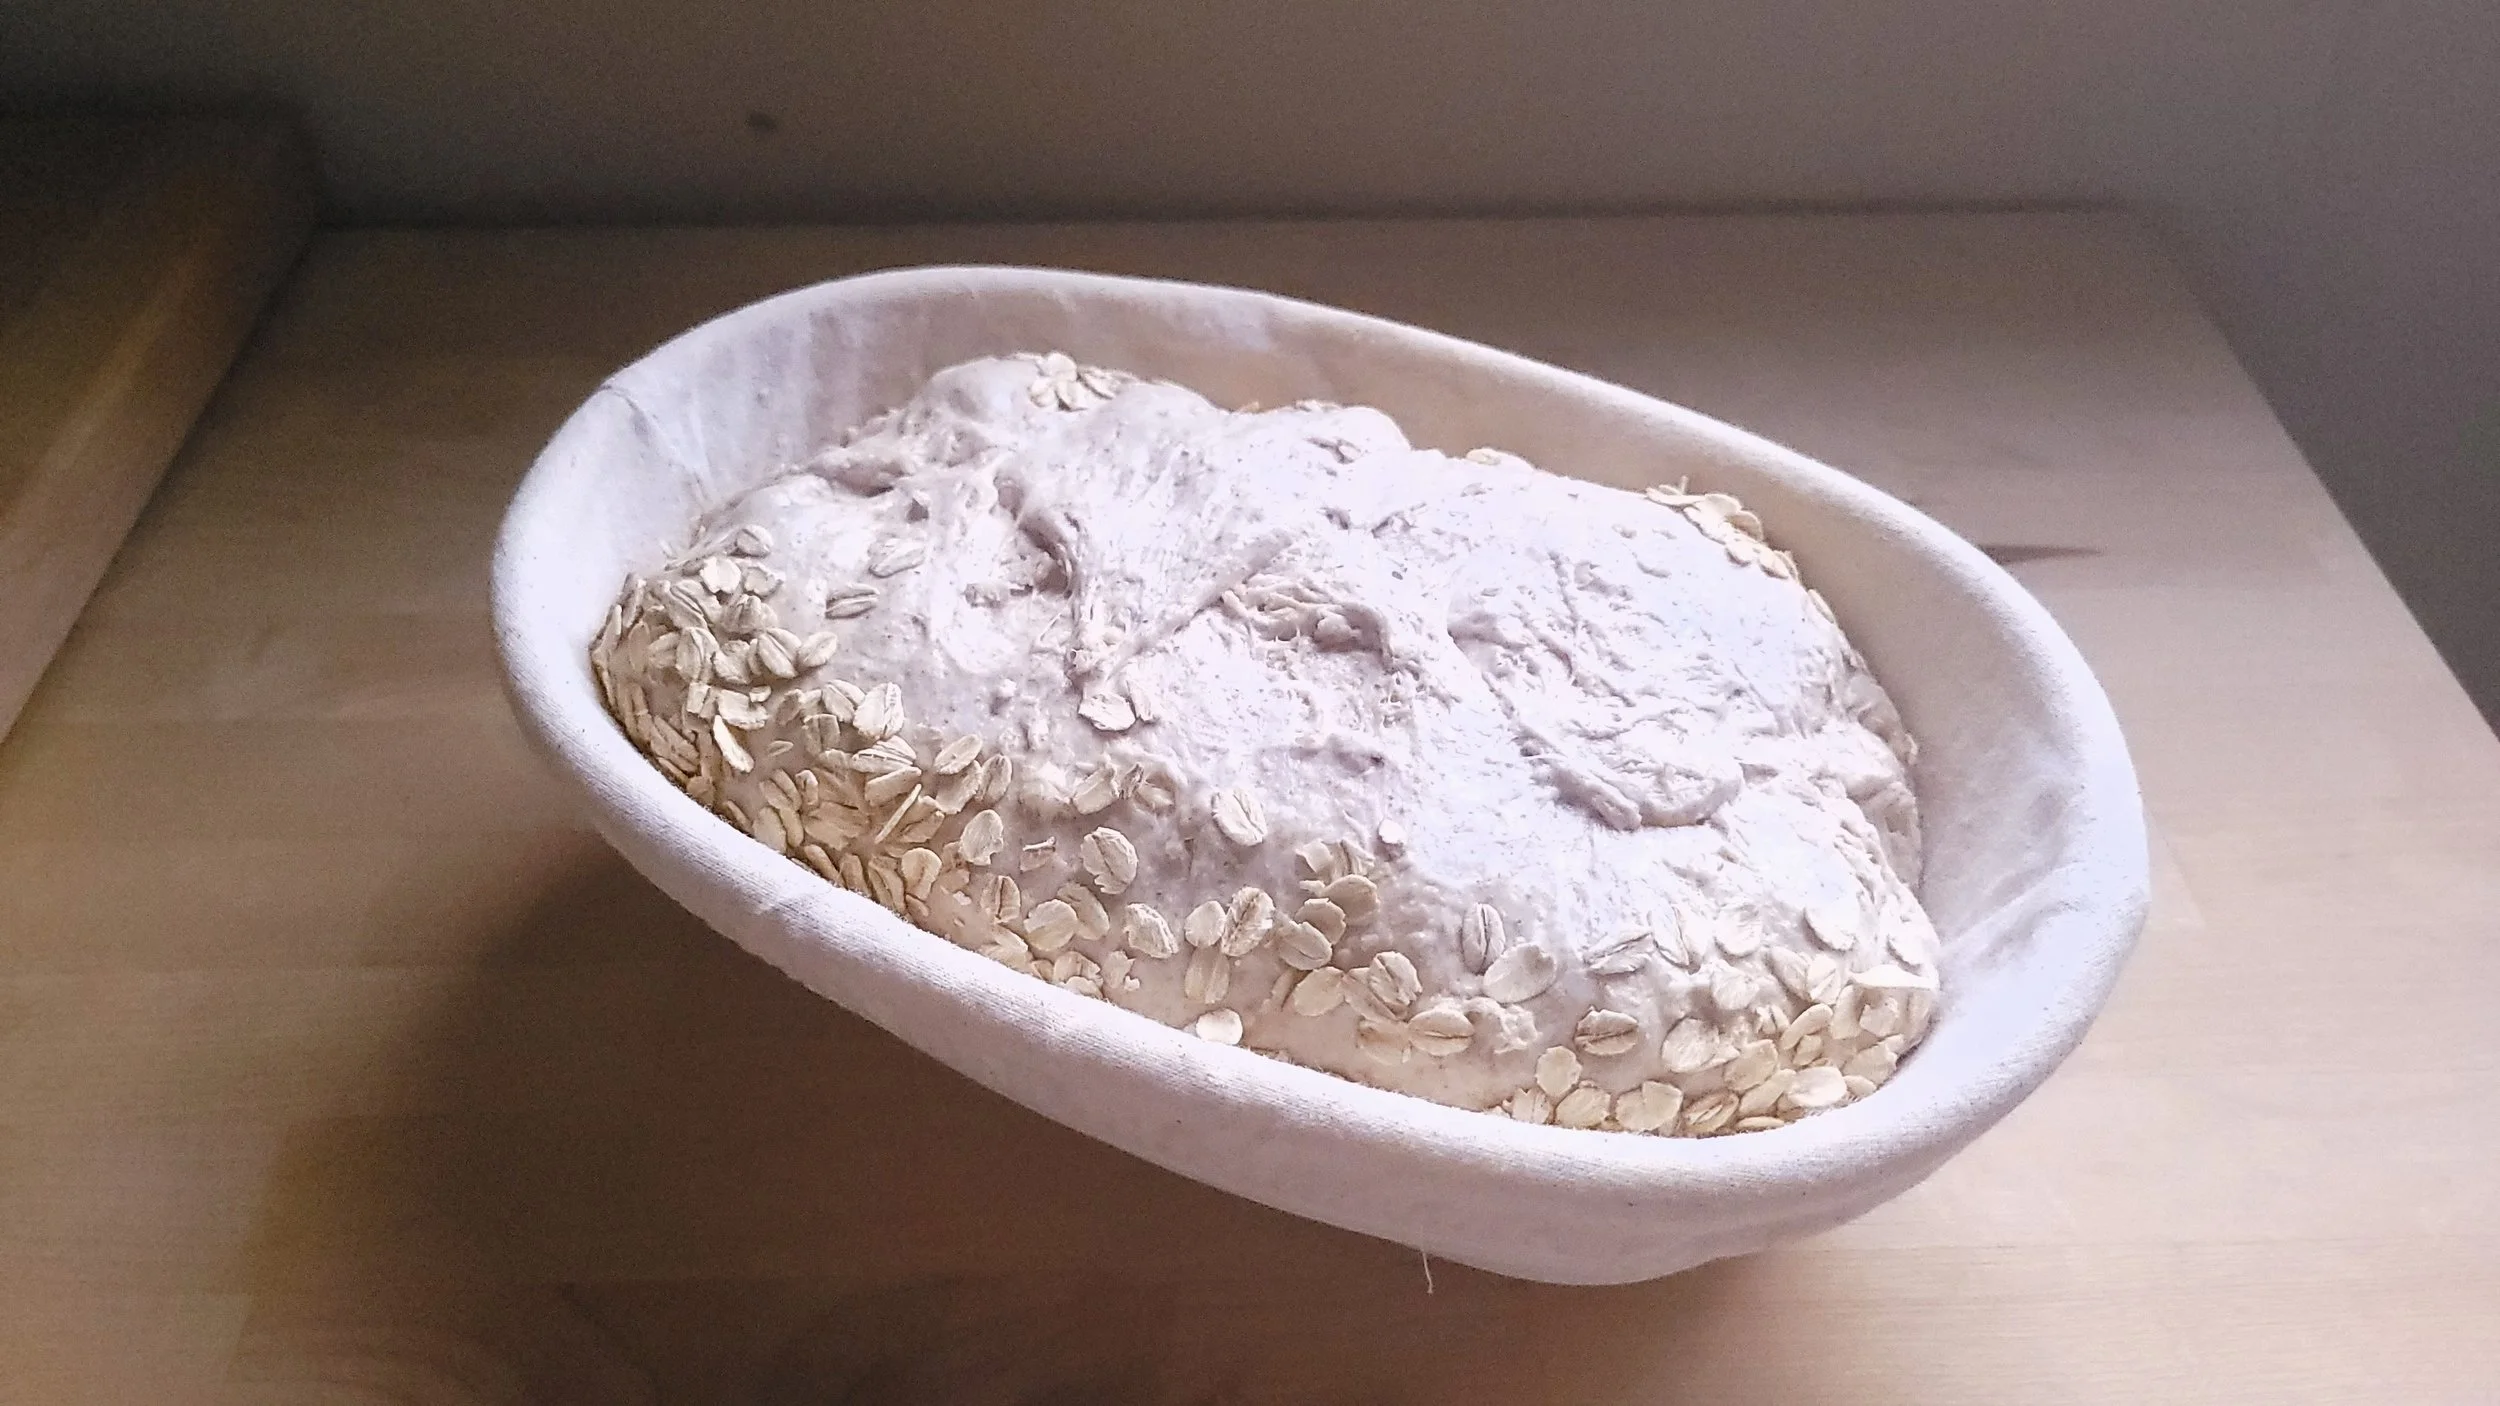
Shaped oat porridge loaf in the banneton.
It took me a while to get warmed up to the complex flavours of sourdough. It tastes a little counterintuitive — biologically we understand that things that taste sour might have spoiled and should not be eaten. Having grown up on soft, sweet Asian breads, eating crusty bread hurt my mouth. But sourdough ultimately won me over, particularly when paired with a rich, umami counterpart (hello butter!)
Oat porridge adds to the allure of sourdough by rendering the bread even more moist and tender on the inside. Golden brown and encrusted with roasted oats, the crust is somehow crispier and thinner as well.

Very happy to finally have figured out how to get an ear and good oven spring!

An open and tender crumb from the oat porridge and 80% hydration.
Developing My Own Method
The first time I made The Perfect Loaf’s recipe, it was a wet and unmanageable mess. This is not at all a knock on his recipe, but rather a reflection of my status as a learner. I have never been especially good at rigorously analysing where a bake had gone wrong, and I’ve always preferred novelty to repeated experimentation and mastery. I wanted to get this right though.
I developed for myself a baking record sheet (downloadable PDF) that I’ve been using to iterate on this recipe so it suits me better:
I reduced hydration to about 80% — a level that I can very confidently handle and shape. I feel that this is a happy medium between openness and tenderness of crumb, and my beginner’s shaping skill set.
With the dough now stiffer, I adapted Full Proof Baking’s method for laminating in the oat porridge.
I also modified the stretch and fold phase to use just three coil folds.
I started using a new cast iron bread pan for this bake and found that its thermal mass changed the properties of my oven and bake quite a bit. Misting the dough before covering seemed to provide enough moisture for a nice oven spring. Baking for 20 minutes covered and 20 minutes uncovered at slightly lower temperatures than usual also worked well.

My record sheet for artisanal bread (downloadable PDF here).
Lessons Learnt
Having now iterated four times, not only do I feel that I’ve gained some level of mastery over this recipe, I’ve also gotten to know my starter and my baking equipment much better. It also really drives home for me the necessity of iteration and observation in developing competency in making something. 🙂
